


You are here
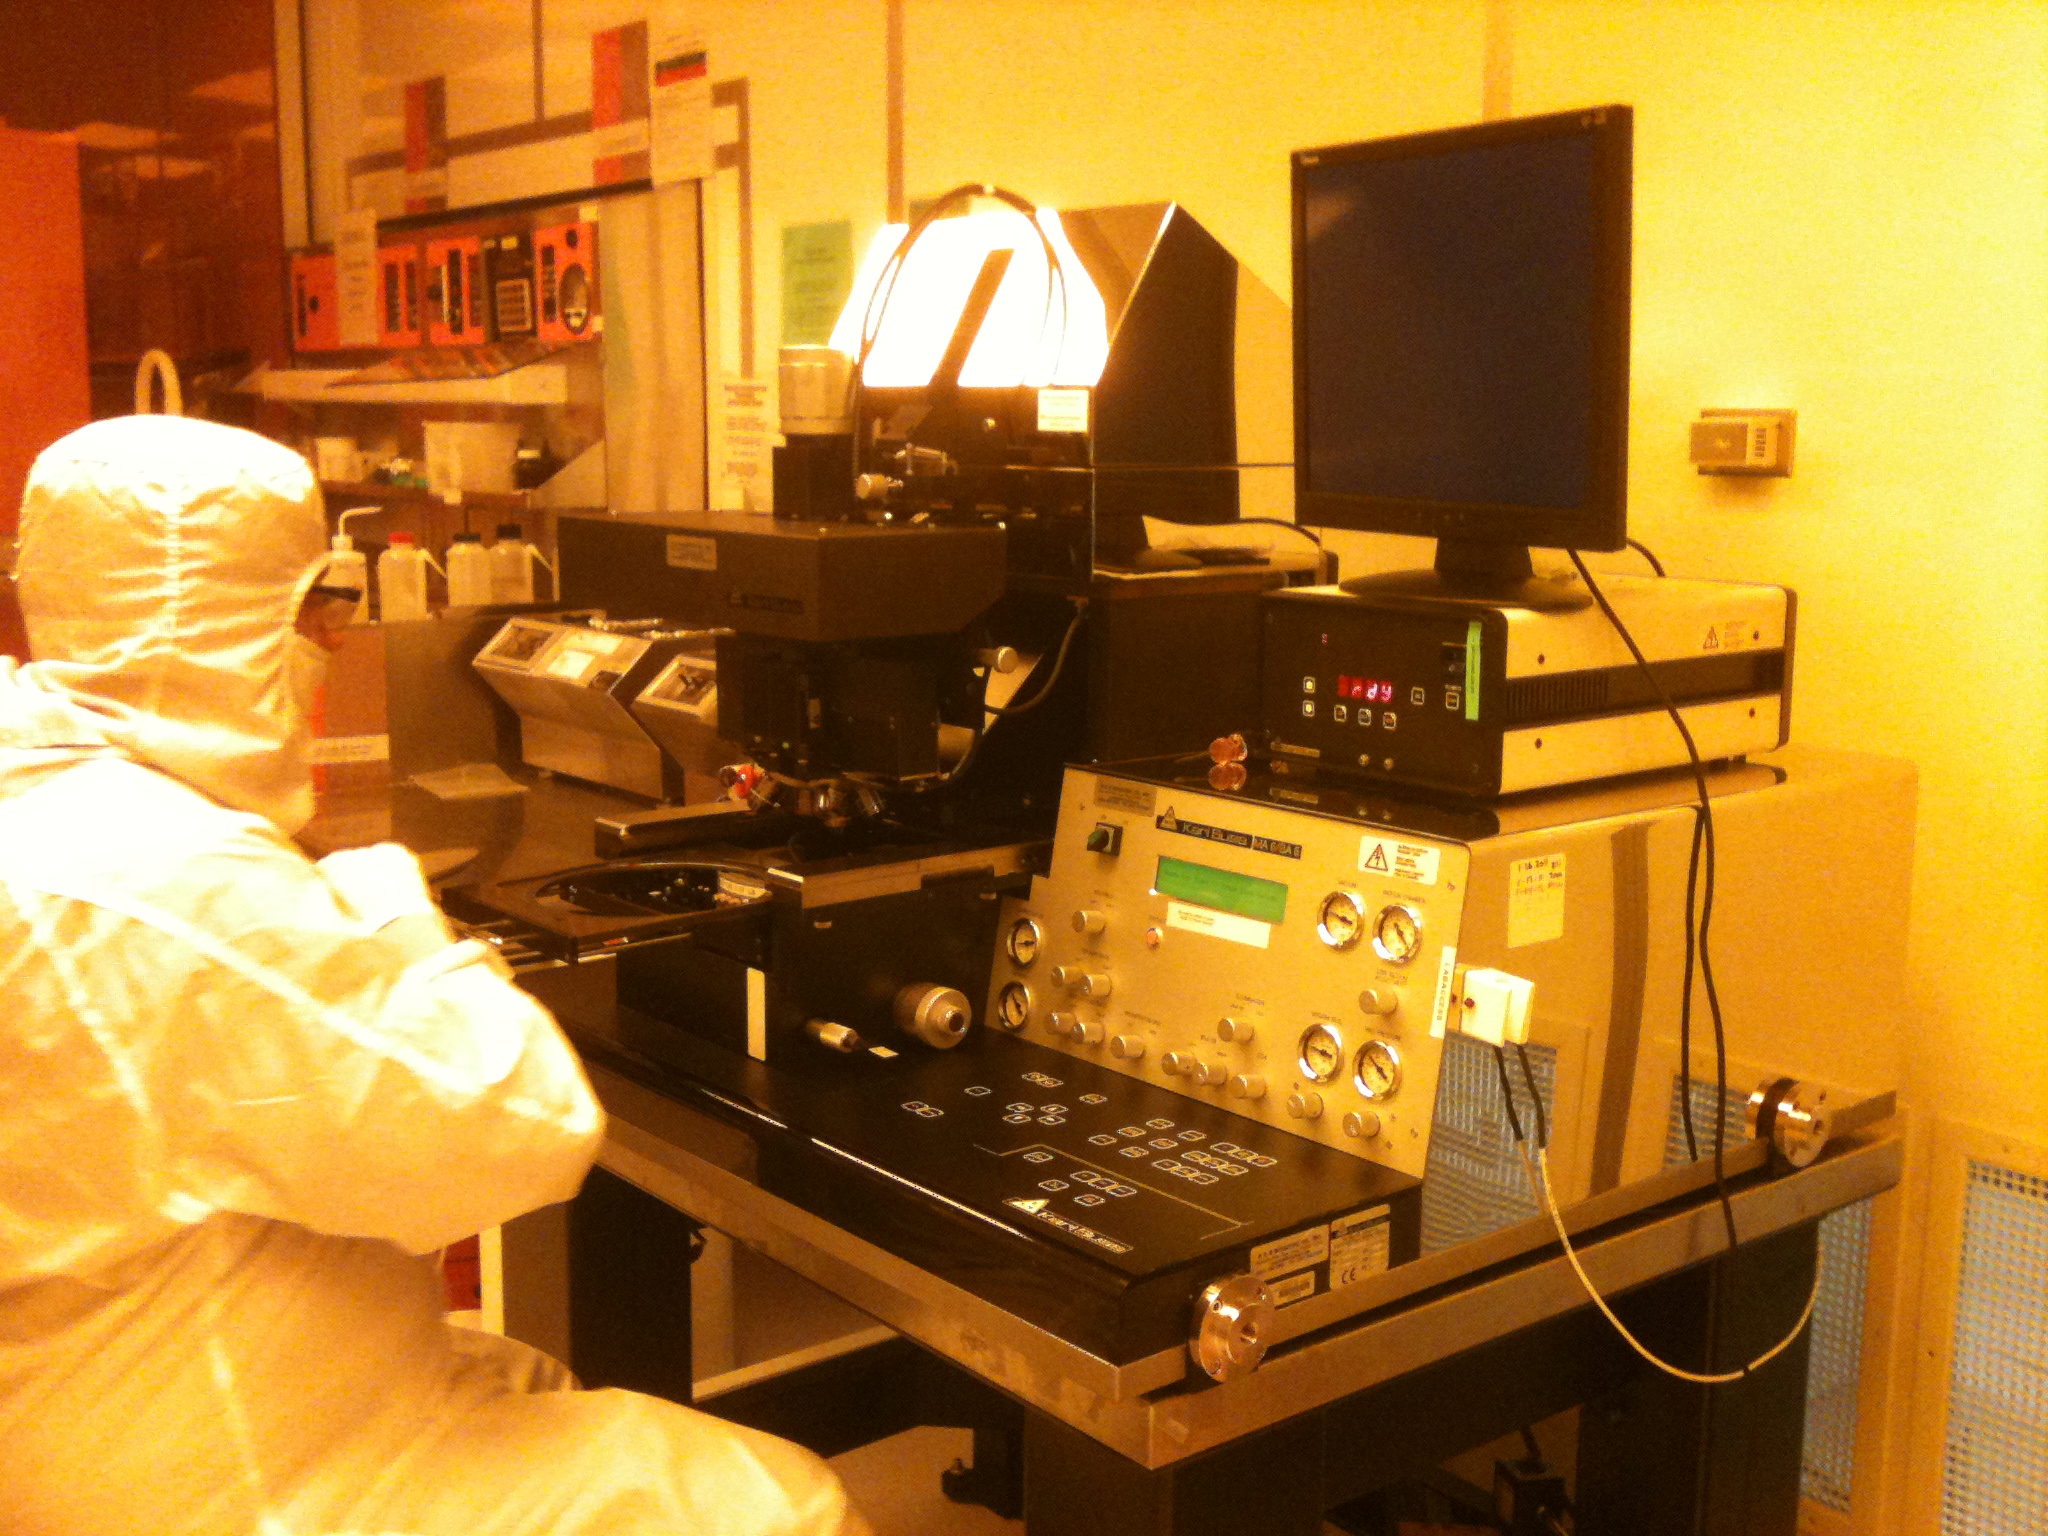
Photolithography i-g line mask aligner SussMicrotec -MA6/BA6
Photolithography i-g line mask aligner SussMicrotec -MA6/BA6
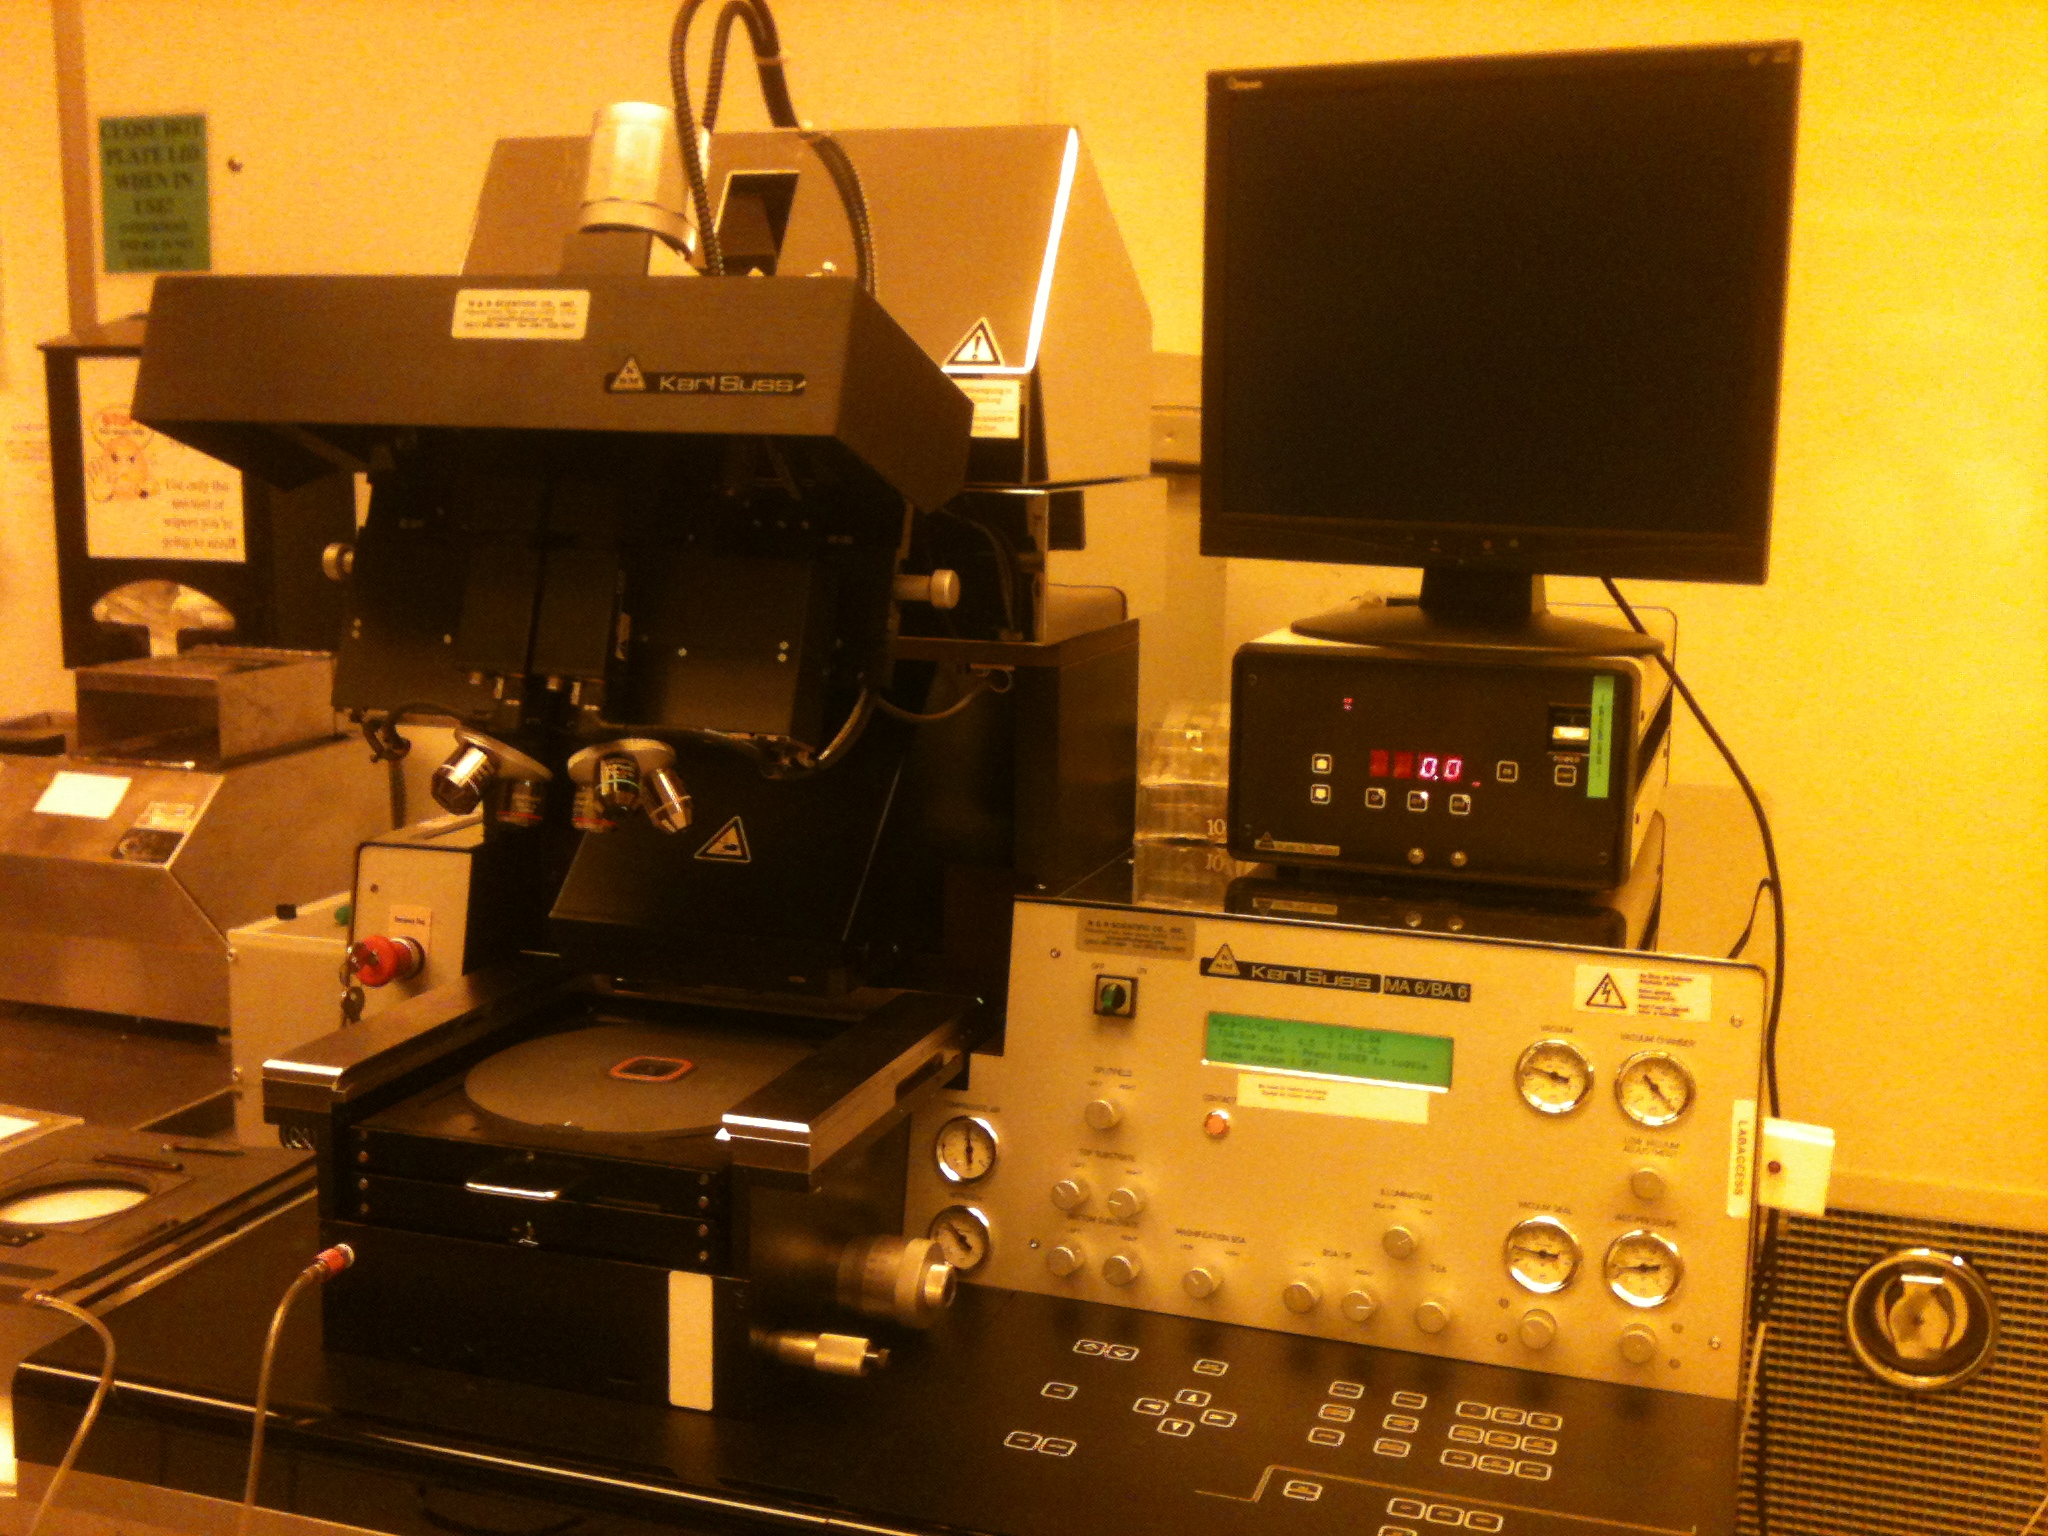
Contact 1:1 lithography
Exposure light wavelenght 360 nm with an intensity of 7.5 mW/cm2
Mask holder sizes available 5"x5" and 7"x7".
Wafer Chuck sizes are 6" and 4".
Maximum wafer thickness 4.3mm
Best resolution = 1um.
Positive Resists: AZ 5209E and others upon request
1. Log on to the tool using the LabAccess terminal.
2. Set the UV lamp setting to either quartz mask setting CI1 (7.5 mW/cm2), or soda line mask setting CI2 (10 mW/cm2) accordingly.
3. If you need a different size wafer chuck holder than is in the machine, disconnect the air hose attached to the front bottom right of the stage. Then remove the wafer chuck holder with the hose attached. Put the ‘new’ wafer chuck into the aligner, and connect the air hose.
4. Turn the mask aligner on. (Never turn off the UV lamp power supply).
5. The aligner will prompt you to press the ‘load’ button and press ‘load.’ This will cause the stage to move back towards the exposure area.
6. When the stage has stopped moving, the aligner will post the program in used. To alter the exposure time press ‘set exposure time’ and use the ‘’ arrows to set the correct time. When the correct time has been entered, press ‘set exposure time’ again to enter in the new setting.
7. Now, press ‘align’ – this will cause the stage to move towards the optics.
8. To load your mask:
a. Gently slide the mask holder out towards yourself and place it upside down.
b. If you need a different size mask holder, undo the vacuum line connected to the aligner.
c. Get the correct size mask holder, and attach its vacuum line back to the aligner.
d. Place your mask onto the holder using the pins to line you mask up.
e. Now, turn the vacuum to the mask on, and make sure that it is holding your mask securely.
f. Next, engage the metal clip that also holds the mask to the mask holder.
g. When you are satisfied that your mask is held securely, grab the mask holder and use your fingers to hold two corners of your mask, turn the holder over, and slide it back into the slot in the stage.”
9. Turn on the TV monitor
10. To align and expose the wafer:
"a. Slide the wafer chuck all the way out (vacuum on the wafer chuck turns off when the chuck is all the way out), and place your wafer on it lining it up with the 3 pins on the chuck. Slide the chuck back under the mask.
b. To put your wafer in contact with the mask, press load. You should see the WEC gauge moving.
c. Now, press align to separate the mask and wafer. This is VERY important – if you try to align your wafer before separating it from the mask, you could damage the mask as well as your sample!
d. To align the wafer to the mask, you will need to use 3 knobs located on the sides of the stage. The knob-in-knob on the right side of the stage controls the ‘X’ coordinates, the knob-in-knob on the left side controls the ‘Y’ coordinates, and the large silver knob on the right side controls the wafer rotation."
e. To control/move your view, use the arrow keys (_ _ _ _) located on the aligner panel. The ‘fast’ key on the panel toggles to move faster/slower. Use the knob located in the control panel to control your view to the right optic, left optic, or split field (both optics)
f. To move one optic in relation to the other in the Y direction, use the smaller knob located above the optics. The metal knob above and to the right of the right optic can move it your right view in the ‘X’ direction independently of the left optic. Similarly, the metal knob above and to the left of the left optic can move your left view in the ‘X’ direction independently of the right optic.
g. To control the focus, the large silver knob above the optics can be turned. Additionally, the black knobs (located near the right side of the aligner), can control the focus of each optic independently using the ‘Mask Focus’ or ‘Wafer Focus’ right/left knobs.
h. When your wafer is aligned, Press the ‘exposure’ button – this causes the stage to move away from you and expose the wafer.
i. After exposure, the stage will then move back out – WAIT – until the wafer chuck lowers to separate the wafer and mask.
j. Wait until the WEC (wafer in contact) lights turns off, and pull the wafer chuck all the way out and remove your wafer.
11. When you are finished using the aligner:
a. Unload your mask.
i. Gently slide the mask holder out, holding onto the corners of the mask from underneath.
ii. Flip the mask holder over so that you can remove the mask.
iii. Turn the mask vacuum off and push the silver clip back to free the mask from the holder.
iv. Put your mask away.
b. Turn the aligner off (NOT the UV lamp power – the UV lamp power always stays on).
12. Log off of the tool using the LabAccess terminal.